Sunday, January 5, 2014

Sprinkle Pretzels

Chocolate-covered pretzels are a treat that my mom makes each Christmas (along with chocolate and peanut butter fudge...yum!).  I think they're the perfect snack because they're salty and sweet, all in one bite.  I made some before Christmas but they were gone too quickly this year.  This afternoon I went to Amy's place for a party and didn't want to arrive empty-handed.  These little snacks were quick and easy to whip up before heading over to the shindig.  (That's a word that should really be used more often!)

To begin, you'll need:
-aluminum foil
-almond bark (white or regular, your choice)
-pretzels
-sprinkles (optional)
-a microwave, plus a microwave-safe bowl and a fork

First, lay cover your work space/countertop with foil:

Next, break up your almond bark and put it in the microwave-safe bowl:

Microwave it for 45 seconds to one minute.  When you take it out of the microwave it will probably look like this:

Poke it with the fork and stir it around.  Microwave it again for another 30 to 45 seconds and then give it another stir:

See how it's starting to melt?  Continue the melt and stir routine until it's lump-free, like this:

Move it back over to your prepared work space and get out your pretzels.  Drop a handful of pretzels directly into the chocolate:
 
Aren't these pretzels cute?  I got them at Aldi just before Christmas.  I'm not sure if it was a holiday thing or a regular item but they were just the right size for my fork.  I can also tell you that star-shaped pretzels work well, too! 
 
Using your fork coat a pretzel in the chocolate and transfer it to the foil.  Repeat this process with the rest of your handful of pretzels. 

If you choose to add sprinkles you'll want to pause the dipping and begin the sprinkling.  Adam's favorite version is regular chocolate without sprinkles.  My favorite version is white chocolate with sprinkles.  I made his kind last time so this time those pretzels were getting sprinkled!

You'll want to top them at this point because the coating hardens quickly.  In order for them to stick in the coating it's important that you do it as you go rather than at the end.  Trust me when I say to do it this way because otherwise you'll be chasing little colorful sugar balls all over your kitchen!
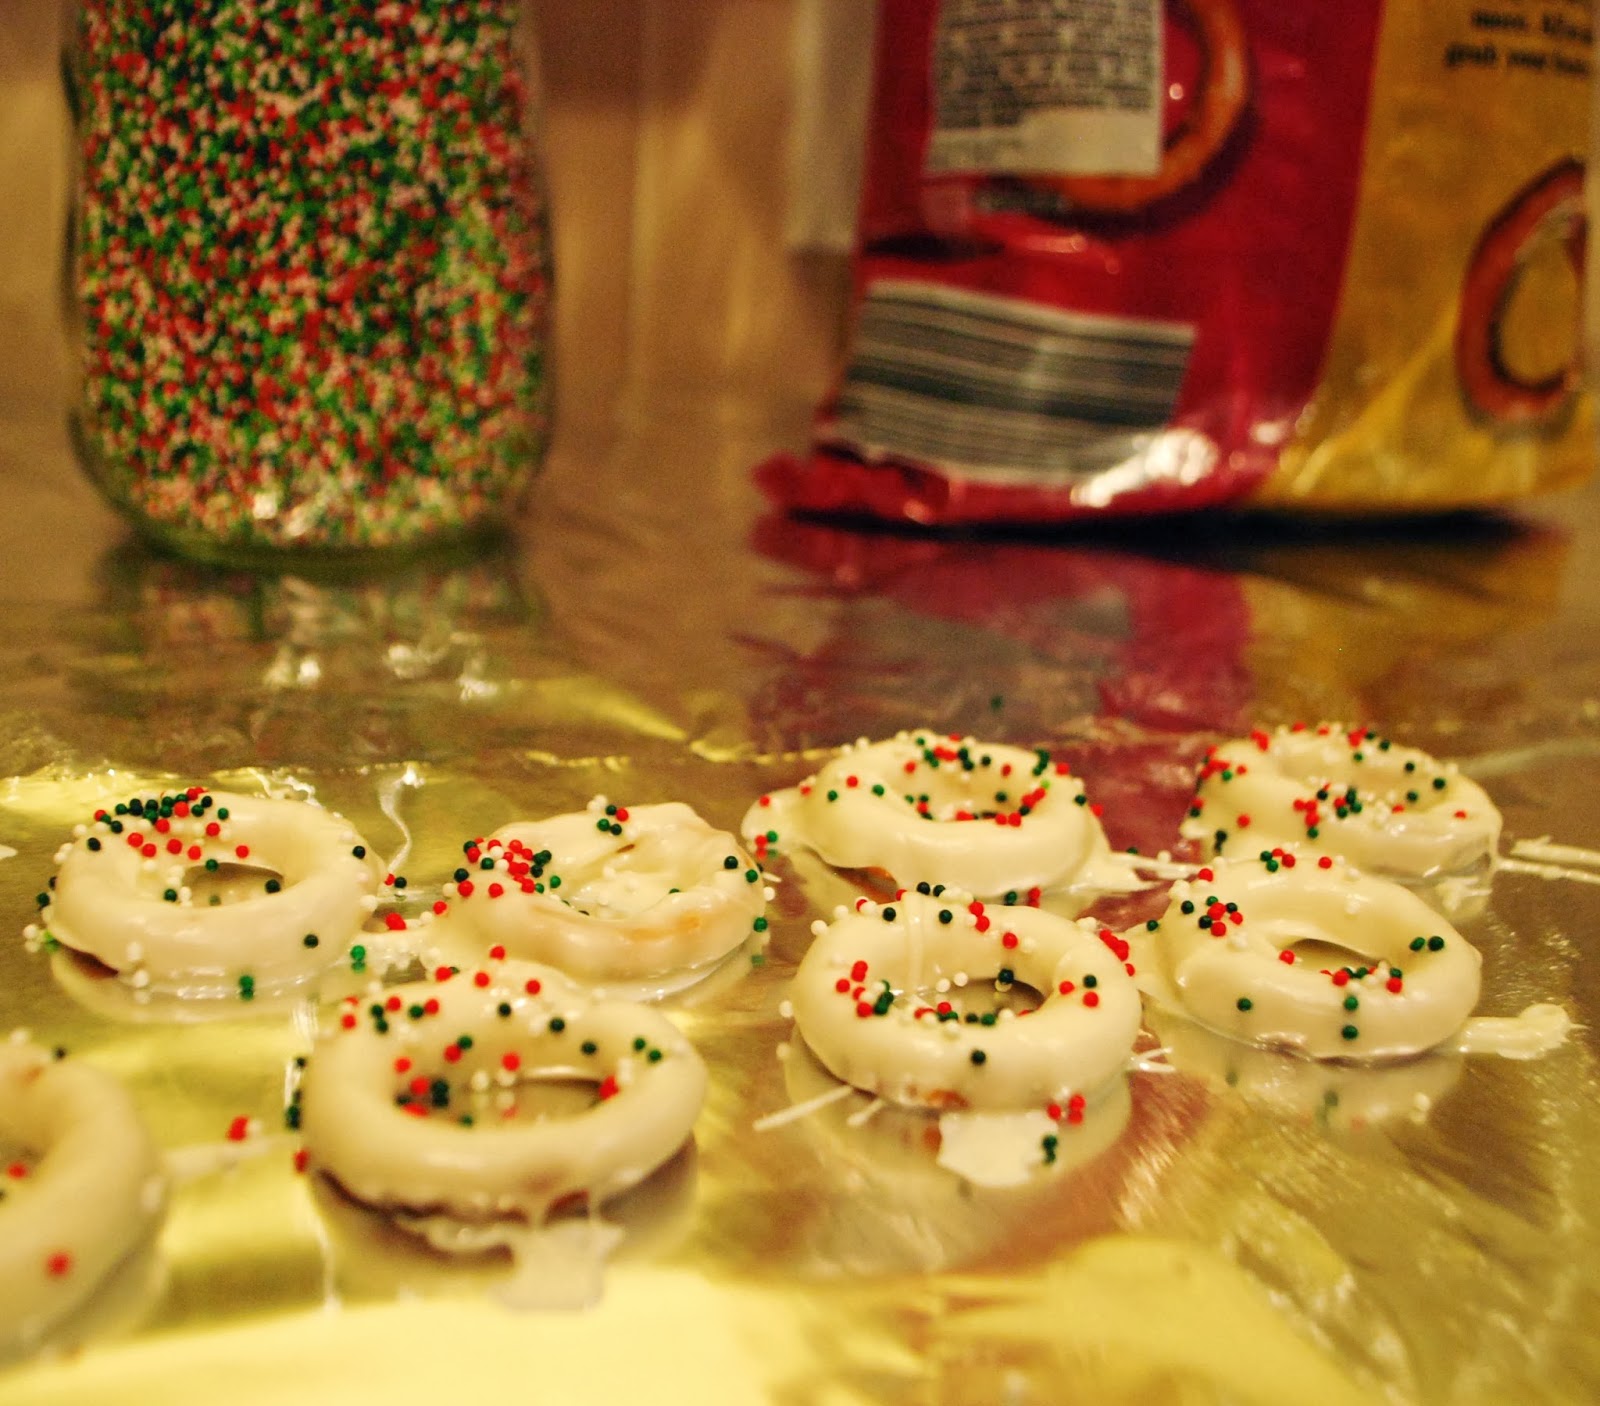
Repeat the process until you've run out of either pretzels or chocolate.  You'll either want to wash your bowl immediately or heat it up again later on to get all of the chocolate off (it returns to its original hardened state if left unattended). 

These can be customized for any holiday or event (parties, weddings, baby showers, etc.).  I just used Christmas colors because I had a HUGE container of red, white, and green sprinkles--you can see it in the picture above.  I limit myself to making these only at Christmas time because a) it's tradition and b) we have no self-control when it comes to eating them.  They don't last long!

Enjoy!
Adi


Wednesday, January 1, 2014

Fresh start


Either the Christmas decorations were packed away today or someone ate my tree one gigantic bite at a time!

2013 was a pretty good year--nothing too eventful, with the exception of buying my sweet 1955 Chevy Bel Air!  The year just cruised along and did not leave me desperate for a do-over in 2014.  Despite the casual attitude I'm having this New Year's Day I DO think it's a great opportunity to start fresh on the old blog. If you're reading this on a standard computer screen or tablet you'll be able to see I changed the format.  There are now four main sections that will house posts related to those categories.  This should serve as an easy way for you to go back and look up recipes, DIY instructions, etc.  I'm aiming for two posts per week--one food-related (on Sundays) and one DIY/craft/home-related (on Wednesdays).  The next few months are planned out with some of my favorite recipes and some sneak peeks into my home decor process.  I can't wait to share them with you!

Enjoy your first day of the new year!
Adi

Sunday, September 15, 2013

Crepes for breakfast


Since we tend to go to the late service on Sundays we like to have a good, home-cooked breakfast.  I decided to go French this week and made crepes.  The recipe came from here: http://m.allrecipes.com/recipe/16383/basic-crepes 

You start by mixing the wet ingredients, then combine them with the flour.  I used a ladle and put a spoonful in the middle of a skillet over medium heat.  Then it's time to swirl it around in the pan:  pick it up and tilt it around until you've made a full circle.  You should have a nice, thin, even coat.  Wait until it stops looking watery on top (like it won't move if you tilt the pan a little) and then use a spatula to help you flip it over.  

I like to use fresh whipped cream and diced fruit to top them.  Here were our options this morning:


Blueberries, nectarines, whipped cream, and other toppings...yum!  I went with the "peaches and cream" combo (or nectarines, actually!) with a chocolate drizzle:


Don't forget the frosty mugs of chocolate milk!


Sunday, June 9, 2013

Naan pizza

Long weekends are the best!  I made a new batch of granola (pumpkin, this time!) and used what we had on hand to make dinner.  Tonight that meant Naan pizzas!  Naan is an Indian flatbread that makes a great base for pizzas.  

Adam's pizza included:

Sauce
Black olives
Ham
Bacon
Two cheeses (mozzarella and Parmesan)

My pizza included:

Sauce
Ham
Bacon
Spinach
Three cheeses (mozzarella, Parmesan, and Feta)

Pop those into the oven at 375 degrees for about 10 minutes and enjoy!

Monday, January 28, 2013

Trifle-ish Dish

I recently had some leftover vanilla cake batter that I baked into two six-inch cakes.  Instead of making a little two layer cake I combined a cake and a trifle into this "trifle-ish dish."  You'll need cake, pudding (make this ahead!), and canned fruit filling.
Start with a layer of cake:
 
Add a layer of pudding:
Then add a layer of fruity goodness:
That's where things start to get messy!  Just call it "rustic" and you can get away with a little messiness. :)  Repeat your layers until it looks something like this:


It's quick, easy, and a great use for leftover cake.  Enjoy!

Adi


Wednesday, January 2, 2013

New year, new goals

Happy 2013!

A new year always gets me thinking about new goals.  Outside of the kitchen I'm doing a picture-a-day challenge on Instagram (#365project) and I'm two for two so far, woohoo!  On the eve of my little bake shop's first anniversary I looked back on my first year goals.  I have almost reached my goal for number of orders in my first year--so exciting!  In this second year, I want to focus on expansion, specifically when it comes to flavors.  I'm pleased to announce my monthly flavor challenge:  a new flavor introduced each month this year.  The catch is that each flavor will only be around for the rest of that calendar month.  At the end of the year I'll take a vote for the most popular flavor and the winner will earn a spot on the permanent menu.  Flavor suggestions are always welcome!


Here's to an extra-flavorful new year!

Adi

Sunday, August 5, 2012

Craft Room: Complete!

For a while now I've wanted to add storage to the craft room.  I found a couple of ideas I liked on this blog and was leaning toward the repurposed china hutch but never found one that was cheap enough to make over.  I went with the bookcase idea instead--three particle board bookcases side-by-side and brought together with a piece of crown moulding for a cohesive look.  My sweet dad offered to help me but I kinda jumped ahead and did it on my own. 

Before:


After:


Check out the moulding!  Isn't it pretty?  There are little roses and vines all the way across.  (On a side note:  If I ever hear a kid ask "when will ever use this stuff?" when talking about geometry I will have an example ready! Angles were pretty important when cutting the moulding.)


As you can see I've already put this thing to good use.  It's also serving as some storage space for my business stuff, too!


While we're at it, here are some pictures of the rest of the room.  It's changed a little over the years.

View from the doorway:


Seating area:


I've also got a big mirror I repainted, too.  It's big and heavy and I'm not sure if I'm going to put it in here.  Still thinking about that one.